NPS accounts can be opened both online and offline. The online account creation helps you easily register yourself under the National Pension Scheme from the comfort of your home.
NSDL provides you the option to register your NPS account through their official eNPS website at enps.nsdl.com
ADVERTISEMENT
In this article, you will get to know the following points about NPS account creation,
Let’s see each of these points in detail.
Documents required to open an NPS account online
The documents required to create or register an NPS account online are,
- Aadhaar Number/PAN Number/Digilocker details
- Scanned signature
- Address Proof
- Scanned copy of the PAN card
- Scanned copy of your canceled check
- Date of Birth Proof
- ID Proof
- Photograph
ADVERTISEMENT
Steps to open or create an NPS account online
To open an NPS account online,
Step 1: Go to the official website of NPS
- First, go to the official website of NPS at enps.nsdl.com.
- Now click on the ‘National pension system’ button.
- A new page will open.
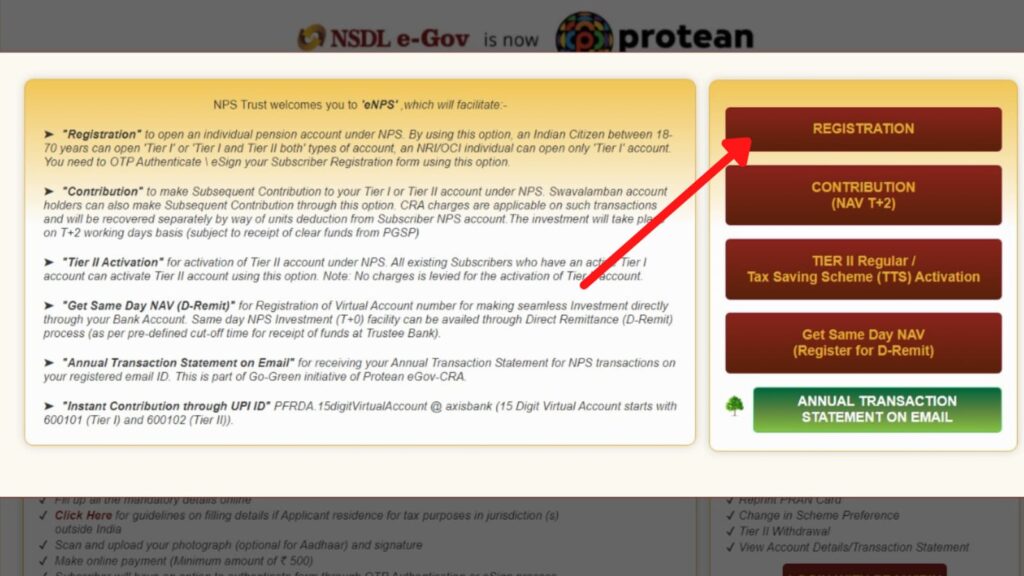
- Now click on the ‘Registration’ button.
- Another new page will open up.
Step 2: Open the NPS registration form
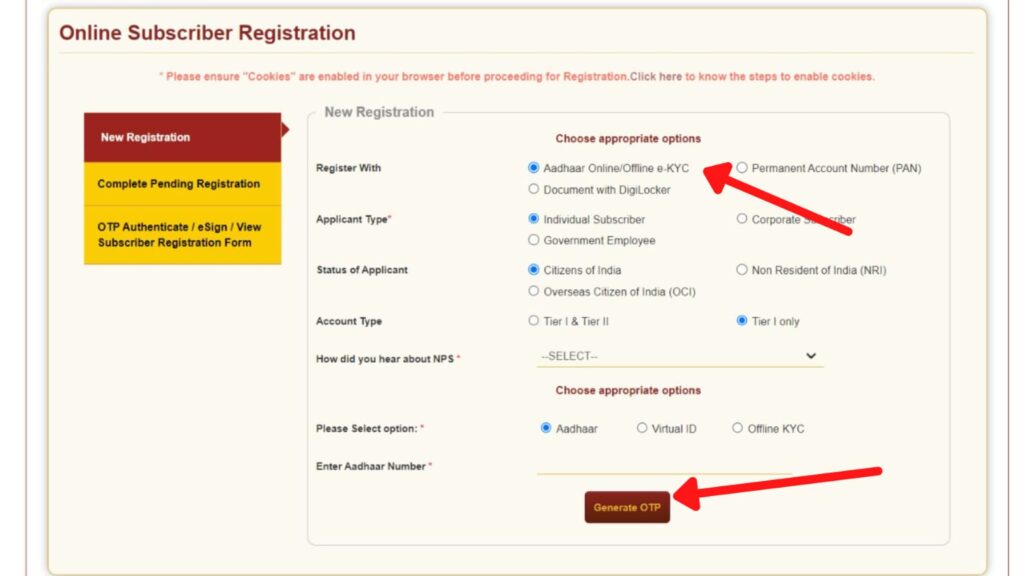
- On the new page, select any one option on ‘Register With’. (I am selecting ‘Aadhaar Online/Offline e-KYC’ for this article.)
- Now select ‘Subscriber Type’ as an ‘Individual Subscribe’.
- Now select the ‘Status of Applicant’ as ‘Citizen of India’.
- Select ‘Account Type’ as ‘Tier I & Tier II’ or ‘Type I Only’ as per your need.
- Now select any one of the ‘How did you hear about NPS’ options.
- Now you will have to choose the appropriate options and complete the verification process using Aadhar, PAN, etc. as selected.
ADVERTISEMENT
Step 3: Fill out the NPS registration form
- On the registration form, fill in your personal and family details.
- Now enter your Proof of Identity details.
- Now enter the ‘Captcha Code’ as specified.
- Next, click on the ‘Generate Acknowledgement No.’ button.
- Next, click the ‘Ok’ button. A new page will open.
- Enter the FATCA details and Address.
- Click on the ‘Save and Proceed’ button.
Step 4: Enter bank and nominee details
- Now you will be asked to enter your occupation and bank details.
- Enter them in the specified fields.
- Click on the ‘Save and Proceed’ button.
- Now enter the details of the fund manager and investment option you want to select from the dropdown.
- Next, enter the name and details of a nominee you want to add.
- Now click on the ‘Save and Proceed’ button.
- A new page will open.
ADVERTISEMENT
Step 5: Upload the required documents
- Now you need to upload the documents required to register under NPS.
- Select the scanned copy of your ‘PAN Card’ and ‘Cancelled Cheque.’
- Now click on the ‘Upload’ button.
- You will now be asked to upload your photo and signature.
- Upload them by clicking on the ‘Choose File’ button.
- Next, click on the ‘Save’ button.
- Next, click on the ‘Confirm’ button.
- Now verify all the details entered. You can click on the ‘Edit’ button to make corrections.
- Click on the ‘Next’ button if everything is correct.
You will now be asked to complete the payment of your first contribution. The minimum amount is Rs. 500.
Step 6: Complete the payment
- Enter Rs.500 in the amount field.
- Next, click on the ‘Confirm Payment’ option.
- Now select a payment gateway.
- Now check the Declaration checkboxes.
- Now select the appropriate options as per your requirements for Annual Transaction Statement, PRAN Card, and Welcome Kit.
- Next, click on the ‘Make Payment’ button.
- Now click on the ‘Confirm’ button and then the ‘Proceed’ button.
- Complete the payment process.
ADVERTISEMENT
Once your payment is successful, your application will be successfully submitted and your PRAN number will be generated.
By following these steps, you can easily register for NPS online.
You can also check the balance and status of your NPS account online.
More articles about NPS
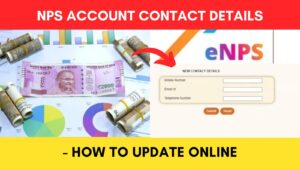
- How To Update (Change) Mobile Number And Email ID In NPS Online
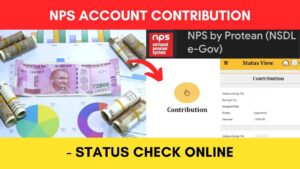
- How To Check NPS Contribution Status Online
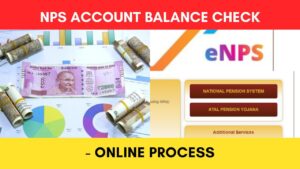
- How To Check NPS Account Balance Online
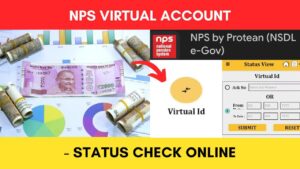
- How To Check NPS Virtual Account Status Online
- NPS Account Opening & Registration Process Online