After the introduction of the United Payment Interface by the Indian Government, a number of apps have been introduced in India.
Google Pay, introduced by Google is one of the most popular apps in the Indian market and is gaining users rapidly.
ADVERTISEMENT
In this article, you will get to know the following details about registering on the Google Pay (GPay) app,
Let’s see the steps of each of these points.
Steps to create an account on Google Pay (G-Pay)
To create an account on the G-Pay or Google Pay app,
Step 1: Download the app
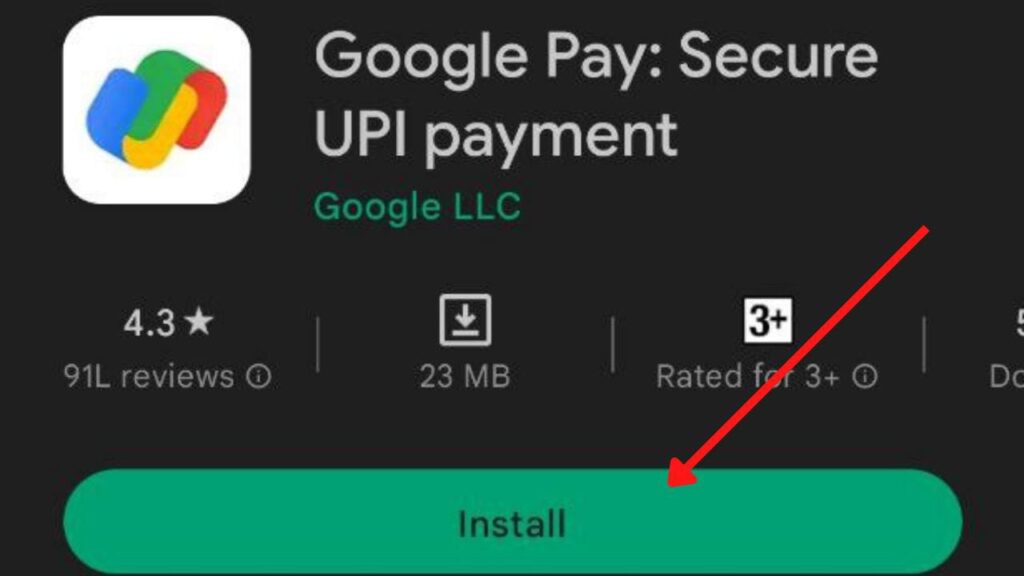
- First, download the app from the link or Play Store (Download Link).
- The app will get installed on your phone.
- After installation, open the app.
ADVERTISEMENT
Step 2: Sign up on the app
- Enter your mobile number and click “Next”.
- You will receive an OTP. Enter it in the specified field and click next.
- Now a list of your Gmail accounts registered on your phone will open up.
- Select the appropriate account.
- You will be registered.
If you don’t have a Google account, you can follow these steps to create a Google account first.
Steps to link your bank account in Google Pay
To link your bank account in the G-Pay or Google Pay app,
Step 1: Open the Google Pay app
- First, open the Google Pay app and log in.
- At the top right, tap on your photo.
- Then click on “Bank Accounts”.
- Tap on “Add bank account”.
ADVERTISEMENT
Step 2: Choose your bank
- A list of all available banks will be displayed.
- Choose your bank from the list of banks.
If you can’t find your bank that means your bank is not available on GooglePay.
Step 3: Select SIM linked with the bank
- Google Pay will ask for permission to send a verification SMS to your bank. Standard SMS charges apply.
- Select the SIM whose number is linked to your bank.
- Click on Next.
Step 4: Select the bank account
- All the bank accounts linked to that number in the bank selected will show up. Select the account you want to add from the list of accounts.
- To verify your account, enter the debit card details linked to the account.
- Click on “Create PIN”.
In case you don’t have a UPI PIN, you will need to set up one. This UPI PIN will be used in all the UPI transactions from this bank account. If you already have a UPI PIN, enter it directly to verify.
ADVERTISEMENT
Step 5: Set up UPI PIN.
- Now, enter the OTP received and your ATM PIN in the specified places.
- Next, enter the UPI PIN you want.
- Re-enter it to set up.
- Click on “Done”.
By following these steps you can easily register yourself and link your bank account in the Google Pay (GPay) app.
Affiliate Disclaimer: Some of the links provided in the article are affiliate links. This means when you buy or book anything using those links, you help support this website at no extra cost.