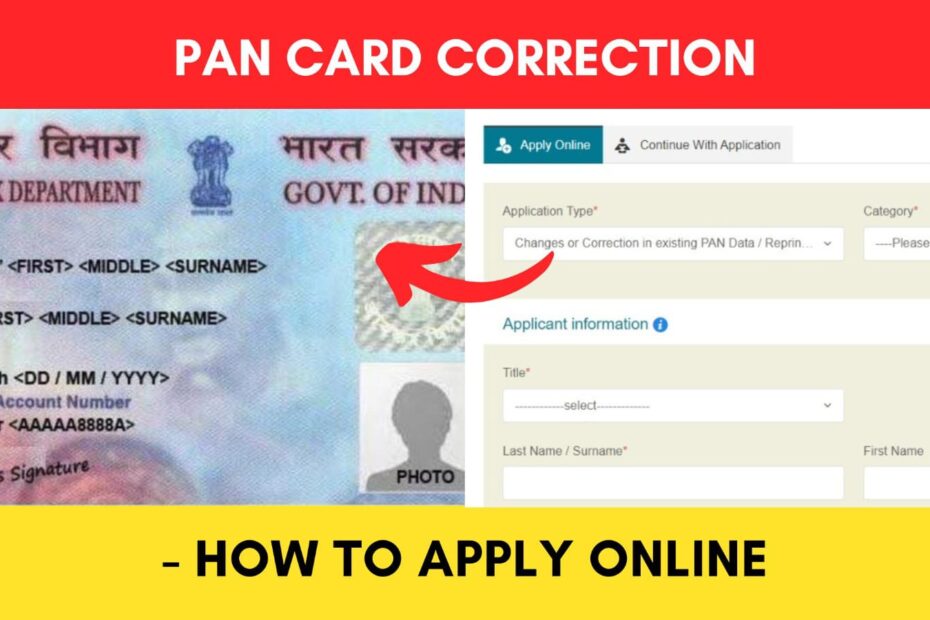
A PAN card is an important document that serves as identity proof and is required for various financial transactions.
However, sometimes there may be errors or old data in the PAN card details such as name, date of birth, address, mobile number, etc. It is always recommended to update or correct the PAN card details to avoid any inconvenience or penalty.
ADVERTISEMENT
The Income Tax Department has made it easier to correct the details in your PAN card online through the NSDL portal.
In this article, you will get to know the following points about how to correct your PAN card details online,
Let’s see each of these points in detail.
Details required to correct PAN card details
You will need the following details to correct or update the information on your PAN card online,
- PAN Card Account Number
- Aadhaar card number (if required)
- Photo (if required)
- Signature (if required)
- Proof of identity (if required)
- Proof of Address (if required)
- Proof of Date of Birth (if required)
ADVERTISEMENT
The requirements will vary based on the details that you want to correct or update.
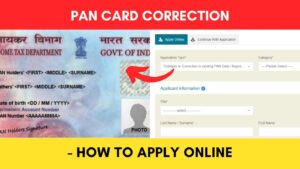
Steps to correct PAN card details through NSDL e-Gov portal
To correct the details on your PAN card online,
Step 1: Go to the official website of NSDL protean
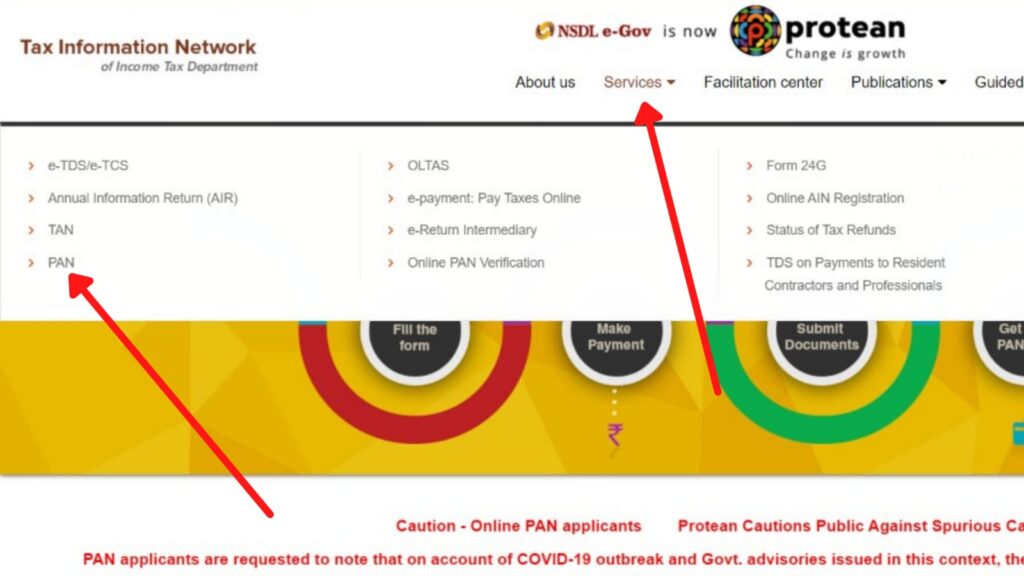
- First, go to the official website of NSDL e-Gov/Protean at protean-tinpan.com.
- Next, click on the ‘Services’ option from the main menu.
- Next, click on the ‘PAN’ option.
- A new page will open up.
ADVERTISEMENT
Step 2: Open the PAN card correction form
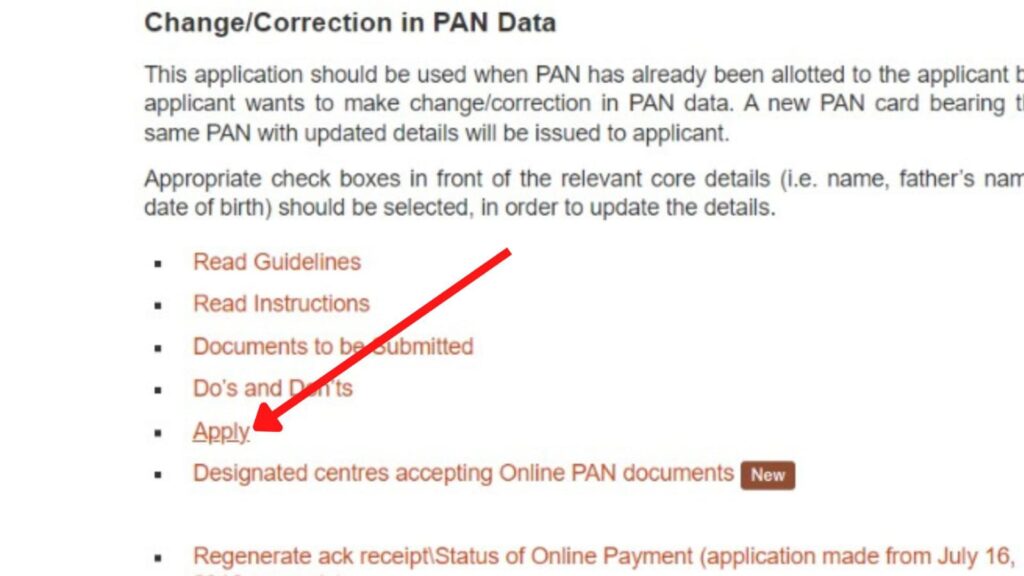
- Now, click on the ‘Apply’ option under the ‘Change/Correction in PAN Data’ section.
- A new page will open up.
Step 3: Fill up the application type and basic details
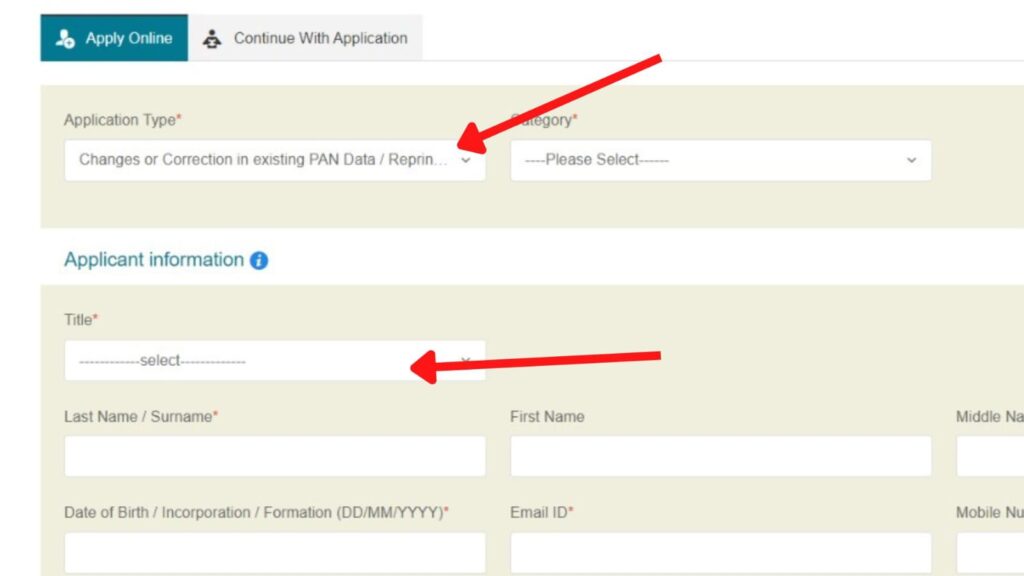
- Next, select the ‘Application Type’ and click on the ‘Change or Correction in existing PAN data’ option.
- Next, select the ‘Category’ of your PAN card.
- Next, under ‘Applicant Information’ enter and select all the required details.
- Next, tick the ‘Declaration’ checkbox and enter the ‘Captcha’ in the specified field.
- Next, click on the ‘Submit’ button.
A new page will appear showing the successful registration. A token number will be given that can be used later for logging in. Keep it saved somewhere.
ADVERTISEMENT
Step 4: Enter personal details on the PAN correction form
- Next, click on the ‘Continue with PAN Application form’ button.
- You will get three options under “How do you want to submit your PAN application documents”. Select the appropriate one.
- Next, choose the option of your choice under “Whether Physical PAN card ID required?”
- Next, enter the “PAN Card Account Number” in the specified field.
- Next, enter the last four digits of your “Aadhar Number” in the specified field. (Only for Individuals)
- Next, enter the “Name as per Aadhar Card” in the specified field. (Only for Individuals)
- Next, enter other required information. (If you have selected any other category)
Step 5: Enter the correct details
- Next, check and modify your details, such as name, Date of Birth, and Gender (if required).
- Next, tick the appropriate boxes if you want to correct your ‘Photo,’ ‘Signature,’ and ‘Details of your Parents.’
- Next, fill up the required details below and click on the ‘Next’ button.
- A new page will open.
ADVERTISEMENT
Step 6: Enter the contact details
- Next, select the “Address for communication” option.
- Next, enter all the required details in the specified field under the “Address” option.
- Two options are given and if you want to update them tick the boxes.
- Next, enter the “Telephone Number and Email ID details” in the specified field (if you want to correct it).
- Next, fill in the rest of the sections, if required.
- Next, click on the ‘Next’ button.
Step 7: Upload the required documents
- Now, select ‘Proof of identity,’ ‘Proof of Address,’ ‘Proof of Date of Birth,’ and Proof of PAN’ from the specifies options. (if required, or based on the previous options selected)
- Next, fill up the ‘Declaration’ section with the correct details.
- Next, upload the ‘Photo’ and ‘Signature’ in the specified field. (if required)
- Next, upload all the previously selected supporting documents in the specified fields.
- Next, click on the ‘Submit’ button.
ADVERTISEMENT
Step 8: Verify PAN correction application
- A summary page will open showing all the details you have entered.
- Next, enter the first 8 digits of your Aadhar Card Number in the specified field.
- Check all the entered details. If there is any mistake click on the ‘Edit’ button or else click on the ‘Proceed’ button.
- The payment page will open up.
Step 9: Complete payment process
- Now, select the ‘Mode of Payment’ from the given options.
- All the charges will be displayed.
- Next, tick the Terms and Conditions box and click on the ‘Proceed to Payment’ button.
- Next, complete the payment process.
ADVERTISEMENT
Step 10: Submit PAN card correction application
- Now, you need to submit your application based on the option you have selected during the first section of the application.
- Once done, your application will be submitted successfully.
- Next, click on the ‘Download PDF’ button to download your application.
To open the downloaded PDF, enter your date of birth in the specified field. You can take a printout of your application form, if required.
By following these steps, you can easily correct the details on your PAN card through the official portal of NSDL.
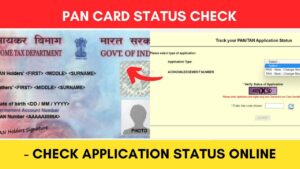
You can also check the status of your application through the same website.
Click to know the steps to check PAN card application status online.
More articles about PAN Card
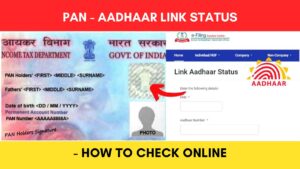
- How To Check PAN Card And Aadhaar Link Status (In 3 Steps)
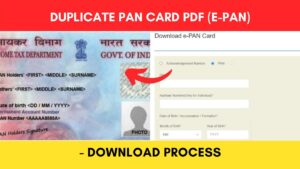
- How To Download Duplicate PAN Card PDF (e-PAN Card)
- PAN Card Correction Online Process (Through NSDL)
- PAN Card Application Status Check Online (Via NSDL protean)
- How to check PAN card link with LIC policy | Verify PAN LIC link
- Link PAN with your LIC policies online

(Disclaimer: The information provided in this article is for educational purposes only. The screenshots/logos used are the intellectual property of the respective owners. dreamtrixfinance.com neither endorses nor is affiliated with the brands/websites mentioned. This is not financial advice.)